Showing posts with label shabby chic. Show all posts

Friday, August 19, 2011

Friday Finds...

Of course we had to spend a day antiquing on our recent vacation, here is our crazy crew on the way out the door...

My Aunt Dorine, My Mom, me, and their BFF since high school, Jane Ann

I didn't do much actual BUYING (no room in the Clampett truck to take anything home, unless I left one of the kids at the beach)... but I did get some interesting ideas I thought I would bring back for you all.  I'm really am going to attempt my own version of these once school gets back in session and I have time to putter (did I really just SAY that?  WHEN do I ever have time to PUTTER???).  ANYWHO... 


Mimi (my mother) saw this adorable table... the top is covered in burlap, with large upholstery tacks (I think that's what they are) around the sides and glass on top.  Totally chic and what a great way to jazz up an old scratched up side table... Really any kind of fabric would look great, but I just love, love, love the texture of the burlap with the glass.


I spied these stunning candle lamps on the way out of a shop... 
can you figure out what they are?


Yep, if you look closely you can see these are just bunch of inexpensive random glass vases, cups, bowls and decanters all fused together and hanging by a chain.  I have about 10 of those cheap florist vases under my kitchen sink. Wouldn't these be lovely on a covered patio?  So pretty, easy and CHEAP!!!  Oh, and I think they were selling them for about $75!


Finally, and I have no idea WHY these grabbed my attention, but I just think they're FUN...

Redneck Wine Glasses

These are just old Mason jars with inexpensive candle holders attached to the bottom... wouldn't these make a fun gift filled with some Skinny-Girl Margarita mix or candy and tied with a big bow?   Now, if I could just find some time to PUTTER.   Heavy sigh...


Monday, April 18, 2011

DIY: Chic and Easy Chalkboard

Chalkboards seem to be all the rage these days... here's a quick, inexpensive, and easy DIY to get you in on the trend!  Start with an inexpensive silverplate, aluminum or pewter tray.  This is not the same tray from the finished product in this DIY, but same idea. You may have few of these stashed in your cupboards, if not, thrift stores have them ALL the time.  I have scored them for as little as 10 cents...


The tray I used in the finished product was quite dirty, but a good cleaning with Goof Off left it with a lovely patina.  Next you need a bottle of nifty chalkboard paint... I like this version by Americana.  This particular paint requires you to paint 2 coats in opposite directions with an hour of drying time between each coat then let the whole thing dry for 24 hours before writing on it.

I wanted to use mine on the fridge, so I popped three heavy duty magnets onto the back.  Depending on what type of metal your tray is made of, they may stick right on (mine did) or you may need to glue them on. To hang on a wall, simply glue a claw toothed picture hanger to the back, or even easier prop it up in a beautiful easel on your counter.

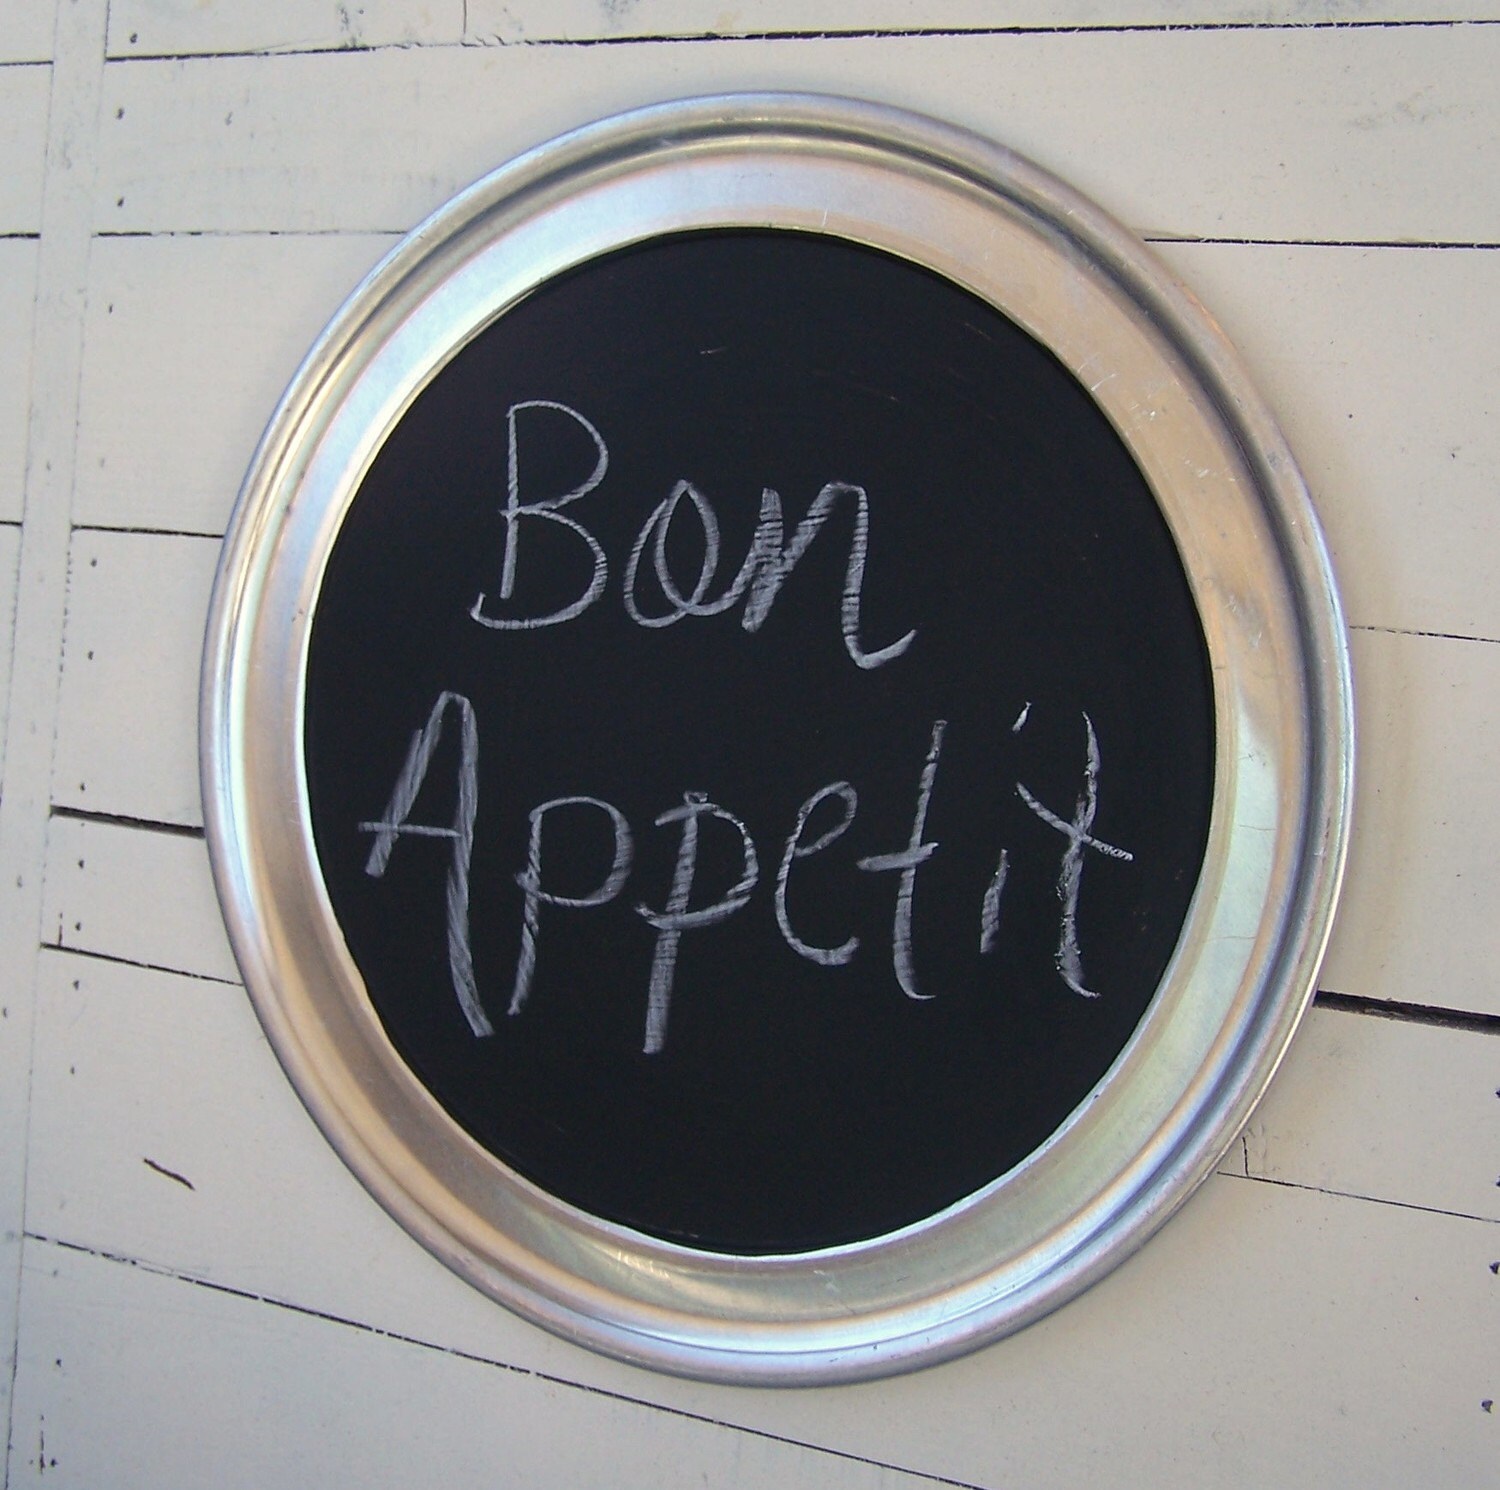
Here is my finished chalkboard... we are currently using it to count down the days until SUMMER (we LOVE summer around here).  Here is another version I made from an old pizza pan, which is for sale in my Etsy store in case you are not feeling too crafty, but would like to get in on the chalkboard craze...

Chic Chalkboard

Check out more GREAT chalkboard projects here:

Saturday, March 12, 2011

DIY: Shabby Chic Dry Erase Memo Board

Home with sickly Dear Daughter yesterday so I worked on this fun little project... It started out with an old cheap wood frame that had once housed this lovely vintage pen and ink bird drawing.  I found this at a thrift store and bought it for the drawing, which will be nesting in a different frame...


Ok, this is just a BORING frame... but it is wood, and has good glass.  Thinking, thinking, thinking... digging in my stash and decide to use some vintage fabric that I also found at the thrift store.  It's a pretty blue and cream and reminds me of my great grandmother's dresses.  I grabbed my trusty off-white spray paint and gave the frame a good coating.  Rub the edges with an old candle before you paint and it will be easy to "shabby" when the paint dries...

To keep it flat and in place, use some spray adhesive (and yes, I always end up sticky from head to toe when I use this stuff, as I am a supremely messy crafter) to adhere the fabric to the cardboard frame backing.

Once the paint dries, take a rag and RUB the paint in the areas that you applied the candle wax... the paint will come right off, and the black frame peeks through giving it that old worn look (that we all pay too much money to Pottery Barn to achieve).  Put the entire thing back together and back it with a sheet of sticky magnet... I LOVE this stuff!  I had it left over from another project...


Just cut it to the size you need, peel off the backing and stick it right on... I covered the entire back to make sure it would hold the weight of the frame and glass.


All finished and this is the end result...

Shabby Chic Dry Erase Memo Board

I LOVE it... if I do say so myself.  A dry erase marker works like a charm on the glass.  It's great on a fridge or file cabinet... or make a bright fun version for a student's locker or dorm room.  If you really LOVE this one like I do, visit Orangies Attic, and it's all yours!  Here's our little birdy friend in HIS new nest...

Framed Shabby Vintage Bird Drawing
Related Posts Plugin for WordPress, Blogger...